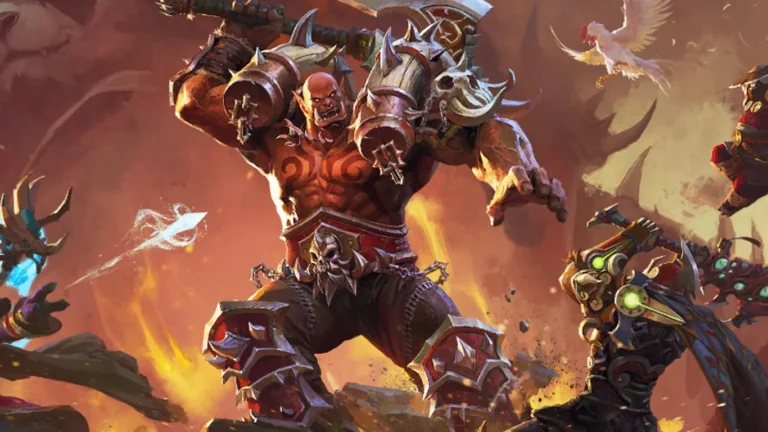
Search

THE WAR WITHIN RELEASES IN

Days
Hours
Minutes
Seconds

WOW TOKEN PRICE

NA 301.111 Coin Image • EU 374.218 Coin Image

THIS WEEK IN WOW

Fortified • Afflicted • Raging

LATEST BLUEPOST

SEASON 4 CLASS GUIDES

Brackenhide Hollow – Dragonflight Season 4

Our Brackenhide Hollow – Dragonflight Season 4 Guide prepares you for all the adventures in World of Warcraft’s latest Season! Check out our Dragonflight Brackenhide Hollow S4 Guide here on Your-MMO.com

Brackenhide Hollow – Dragonflight Season 4

Our Brackenhide Hollow – Dragonflight Season 4 Guide prepares you for all the adventures in World of Warcraft’s latest Season! Check out our Dragonflight Brackenhide Hollow S4 Guide here on Your-MMO.com

MDT Route for S4 Brackenhide Hollow

First Boss: Hackclaw’s War-Band

To unlock the first Boss of Brackenhide Hollow – the Hackclaw’s War-Band – players have to free 5 captives out of their cages. These cages are indicated on your minimap.

Notable Trash Mobs in this Area

Claw Fighter attack Tanks with Bloody Bite which requires them to be healed above 90% health to remove this periodic damage debuff. They also fixate on random players with Vicious Clawmangle.

Bonebolt Hunter deal damage on random players with Shoot and Bone Bolt, but also leave a voidzone on the floor with Toxic Trap.

Decay Speaker will frequently summon a Rotchanting Totem which has to be killed immediatly. It will otherwise apply an increasingly stronger disease on players.

Make sure to interrupt Hideous Cackle by the Bracken Warscourge, otherwise players will be feared for 6 seconds. 

Hackclaw’s War Band Notable Abilities

  • Kill the Hextrick Totem immediatly to prevent one of your party members to be disoriented for its duration.
  • Run away whenever Rira Hackclaw uses Bladestorm
  • Tanks have to stand infront of Rira Hackclaw when she focuses one random player with Savage Charge

Rira Hackclaw

Savage Charge

One random player is targeted by Savage Charge. This will deal damage to the first target hit by this Savage Charge.

Tanks should make sure to stand infront of Rira Hackclaw. 

Bladestorm

Bladestorm is frequently cast while fixating on a random player for 5 seconds. The fixated player will change everytime.

Make sure to dodge away when you are too close to Rira Hackclaw.

Cleave

Rira Hackclaw uses her Cleave. This is frontal cone towards the Tank. Tanks should always face the Boss away from the group.
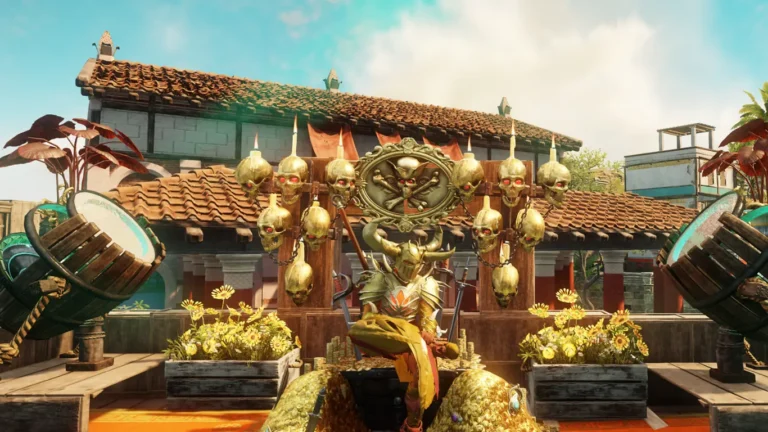


Gashtooth

Marked for Butchery

One random player will be afflicted with Marked for Butchery. This deals damage to the marked player for 4 seconds. Healers must compensate this, and players should use their personal defensive cooldown.

Gash Frenzy

Gashtooth will jump on multiple random player with Gash Frenzy. This applies a periodic damage debuff. This is removed if their health reaches above 90%.

Decayed Senses

Decayed Senses will blind the Tank and must be dispelled immediatly.


Tricktotem’s Abilities

Hextrick Totem

Tricktotem will frequently spawn a Hextrick Totem. This will disorient players as long as persists.

Make sure to kill this immediatly.

Bloodfrenzy

Whenever one enemy reaches 15% health, all enemies gain Bloodfrenzy. Make sure to cleave all Bosses equally.

Earth Bolt

Earth Bolt is Tricktotem’s regular cast. Players should use their spare interrupts on this spell.

Greater Healing Rapids

Frequently, Tricktotem uses Greater Healing Rapids in an attempt to heal her allies. Make sure to always interrupt this.

Second Boss: Treemouth

Players can choose to walk left or right – either too Treemouth or Gutshot. We suggest players taking the right way to Treemouth. 

Notable Trash Mobs in this Area

Infected Lasher will be present a lot, they afflict the Tanks with a bleeding debuff.

Brackenhide Shaper will additionally cast Touch of Decay that just deals heavy damage if not interrupted.

Decayed Elder casts Withering Roots which roots players and deals damage over time if not interrupted.

Wilted Oak use Stomp which deals damage within 8 yards around him. Also he uses Decaying Breath as a frontal cone, but can be interrupted.

Treemouth Notable Abilities

Grasping Vines

At 100 Energy, Treemouth uses Grasping Vines. He will soak all players in, in an attempt to Consume them. Players Consumed take a lot of damage and grant the Boss an absorb shield. 

If not player is Consumed, he will gain Starving Frenzy.

Whenever a player was Consumed, they gain Partially Digested, which increases the damage of another Consume.


Decay Spray 

One random player will be targeted by Decay Spray. This spawns multiple swirls under that player which spawn 4 Decaying Slimes.

These Slimes leave a voidzone upon death.


Vine Whip

Vine Whip is frontal cone in the direction of the Tank.

This knocks all players away that are hit.

Third Boss: Gutshot

Between Treemouth and Gutshot, you will encounter similar enemies as before.

Notable Trash Mobs in this Area

Skulking Gutstabber are stealthed enemies which infect random player with a Poison.

Stinkbreath disorients all players hit by Stink Breath, a frontal cone. He uses Violent Whirlwind that deals damage to players within 8 yards.

Gutshot Notable Abilities

  • Two players will spawn Ensnaring Traps below them which deal damage to players touching them.
  • Kite the Rotfang Hyenas into these Traps to kill them. 
Ensnaring Trap

Two random players are afflicted with Ensnaring Trap, causing them to spawn a Trap below them after a few seconds. 


Rotfang Hyena

Main mechanic of this Boss fight are the Rotfang Hyenas that are spawn frequently.

Kite these adds through the Ensnaring Trap to deal heavy damage on them.

The Hyenas will fixate on a random player which are getting affected by Meat Toss. This also causes the Hyenas to gain Feeding Frenzy Enrage effect. 

Master’s Call will be casted by Gutshot in an attempt to free all of his Hyenas from the Traps. This must be interrupted.

Final Boss: Decatriarch Wratheye

Notable Trash Mobs in this Area

Interrupt the Decay Surge cast and beware of Rotting Surge toxins on the ground by the Filth Caller.

Spread out whenever Vile Rothexer apply Withering Contagion on random players.

Decatriarch Wratheye Notable Abilities

Decaying Strength 

At 100 Energy, Decatriarch Wratheye uses Decaying Strength which deals more damage for each Withering Rot on all players. This also deals more damage to players with Withered Eruption the more stacks players have.


Rotburst Totem

Whenever a Rotburst Totem is summon, make sure to immediatly focus your damage on it.

Whenever its cast is finished, it will apply another stack of Withering Rot on all players.


Choking Rotcloud

The Choking Rotcloud will travel in a circle around the Boss area. When this is spawned, the Boss will deal it as a frontal breath in the direction of the Tank.

Players inside of it are silenced and will receive additional stacks of Withering Rot per second.


Decaystrike 

Decaystrike is a frontal cone towards the Tank which deals heavy damage.

This also applies a healing absorption on the Tank.

LATEST NEWS

diablo 4 season 4 loot reborn
pokemon shrouded fable announced preorder
global accessibility day in diablo 4
wow remix mists of pandaria now live
newb world adventurer spotlight
weapon tuning final shape

LIVE STREAM